YouTube video


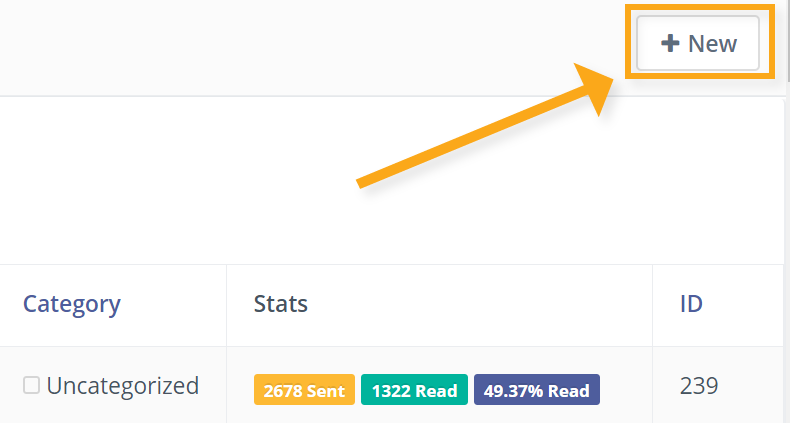
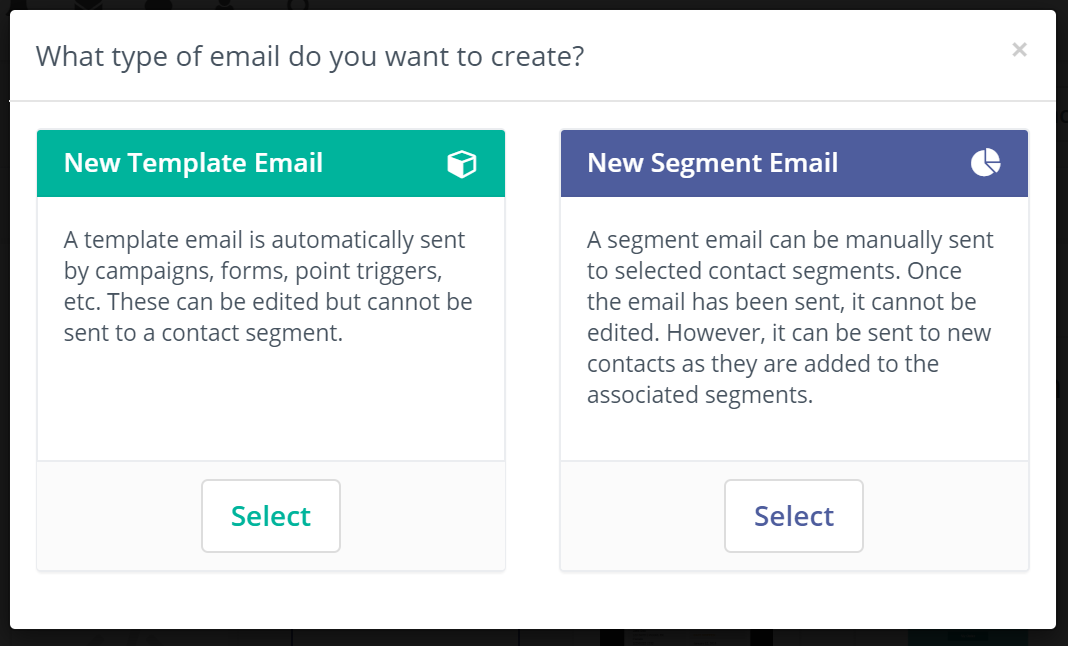
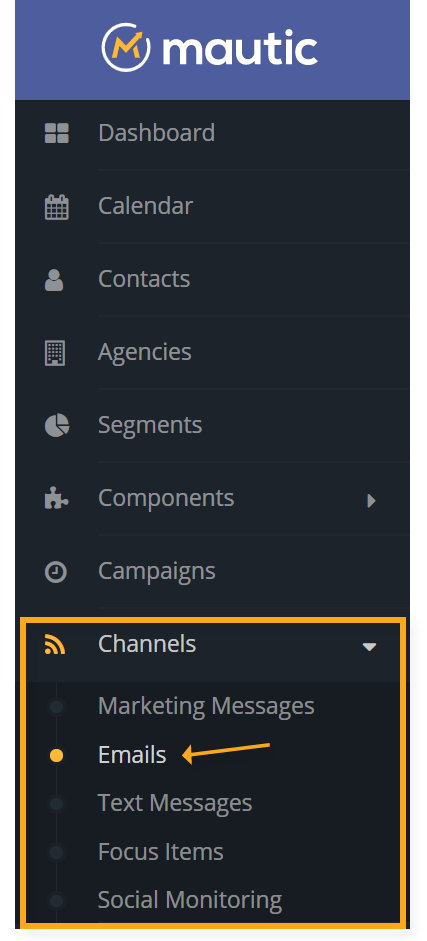
As the name suggests, a ‘template email’ is one that is based on a template provided by Mautic, or a template that your school builds itself. This feature makes it easy to create eye-catching, effective, and customized email campaigns. To create a template email, you’ll first need to go to the Email section of Mautic. First click ‘Channels’ on the left-hand sidebar, and then select ‘Emails’   email channel   You’ll be brought to the central email screen where you can click ‘New’ to create a new email.   send new email   From there, you’ll be asked what type of email you want to create. In this case, select ‘New Template Email.’   template or segment email   You’ll then be brought to an email builder which provides plenty of options for customizing the perfect template. 
Select Your Template Theme

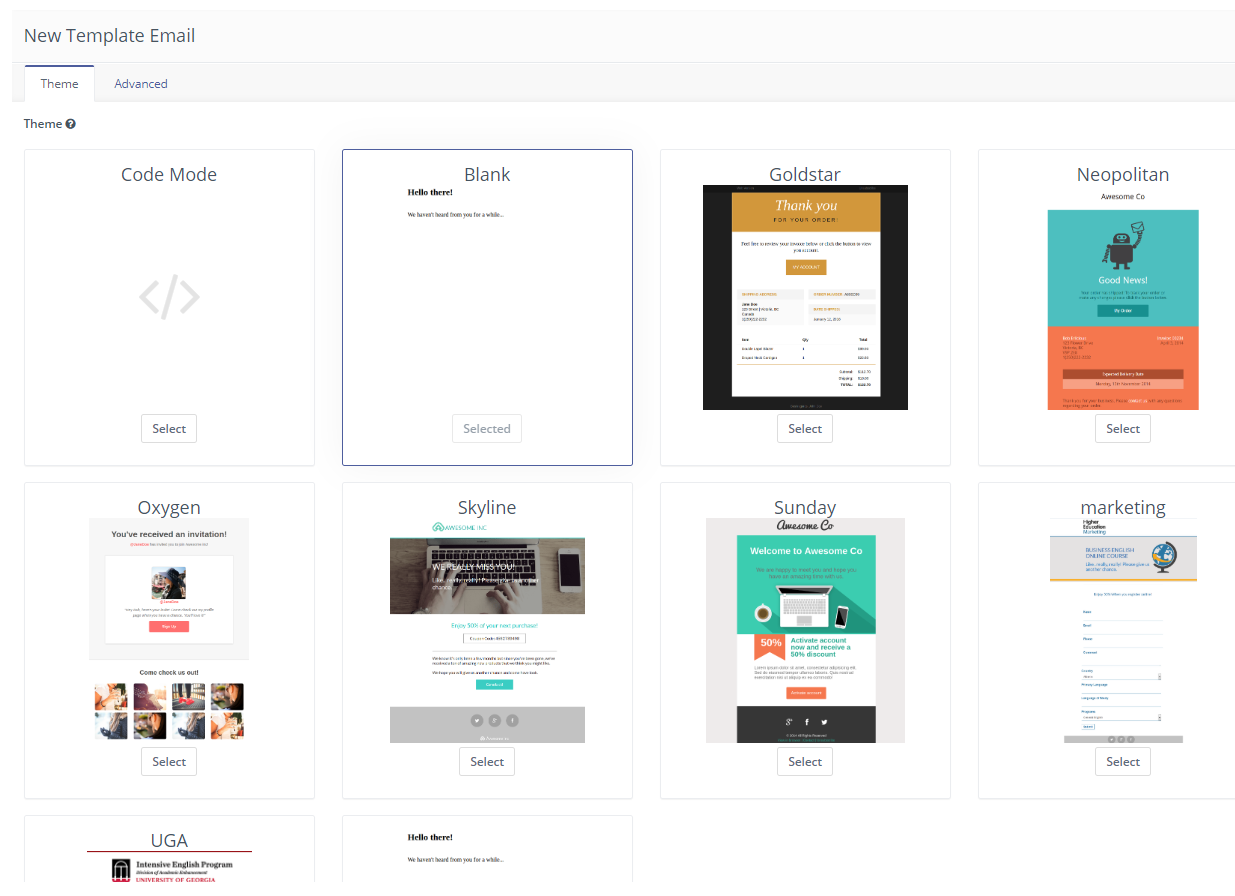
First, you can select your template from the various themes available in Mautic. You could also code your own template if you so choose.   different templates
Adding Email Details

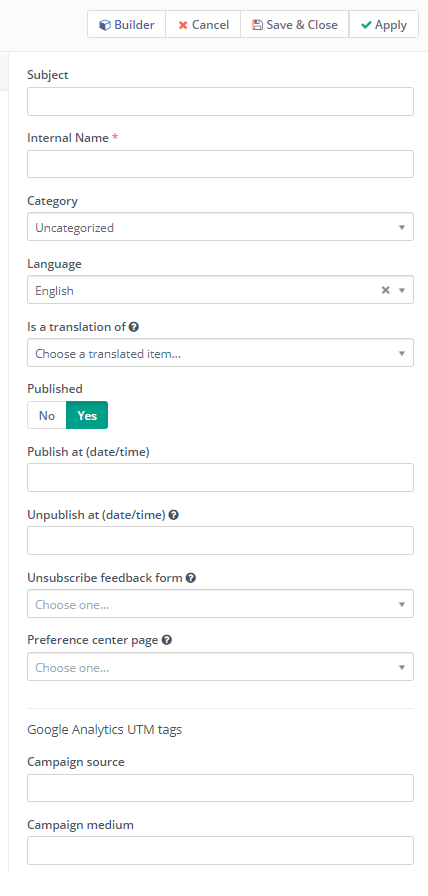
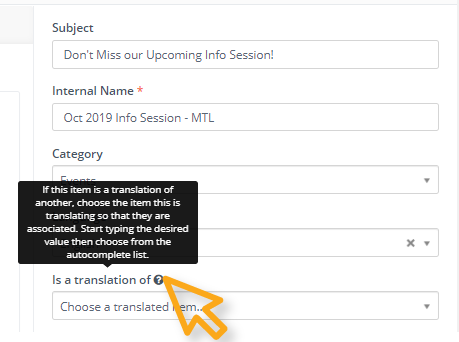
On the right-hand menu, you’ll find a number of different fields that allow you to schedule, track, and organize your email campaigns. There, you can select which segment your email will be sent to, and add details such as an internal name for your campaign and custom UTM tags.   add email details   If you experience any confusion filling in your email details, simply hover your cursor over the question marks to find out exactly what information the field is asking for.   question with template emails
Advanced Email Settings

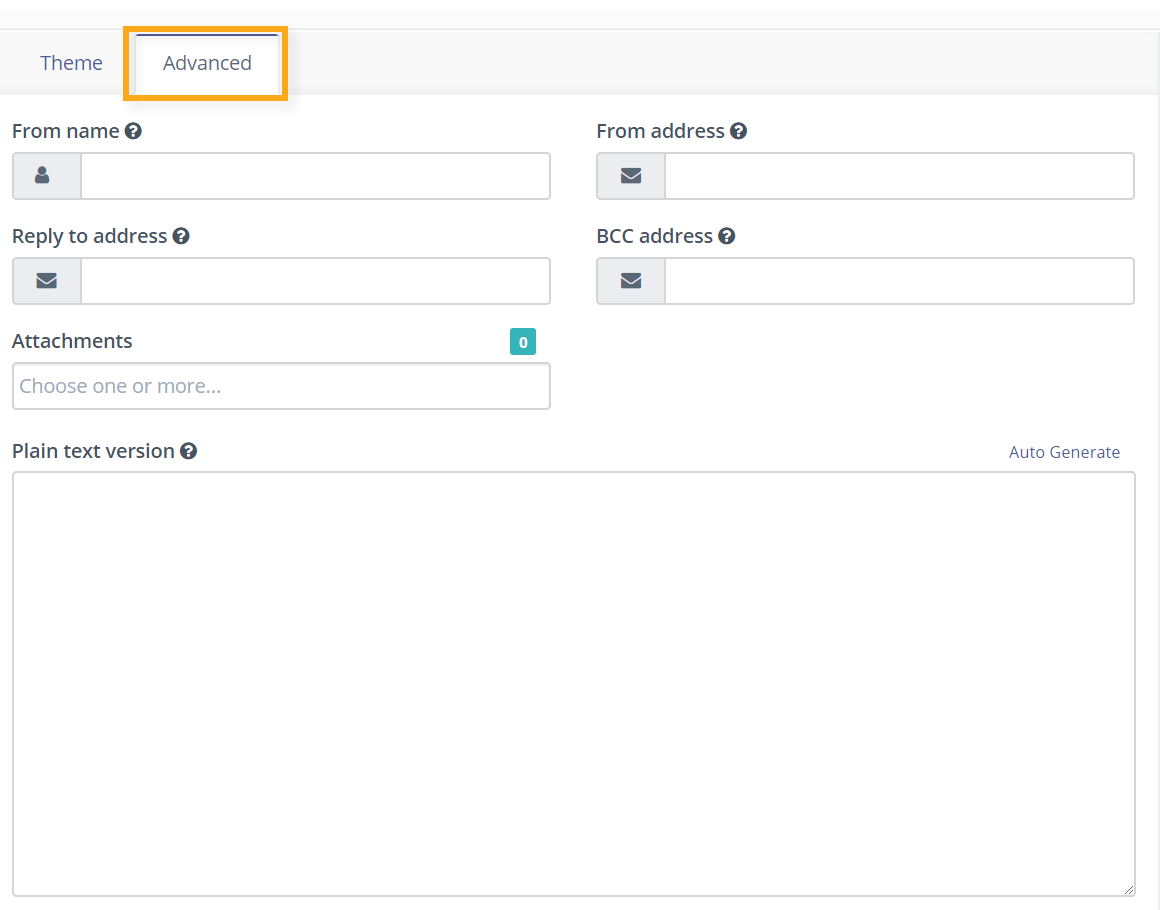
If you want to further customize your email, click the ‘Advanced’ button in the top left-hand corner. There, you can select the ‘reply to address,’ add attachments, and create a plain text version of your email if you so choose.   advanced email
Creating Email Content

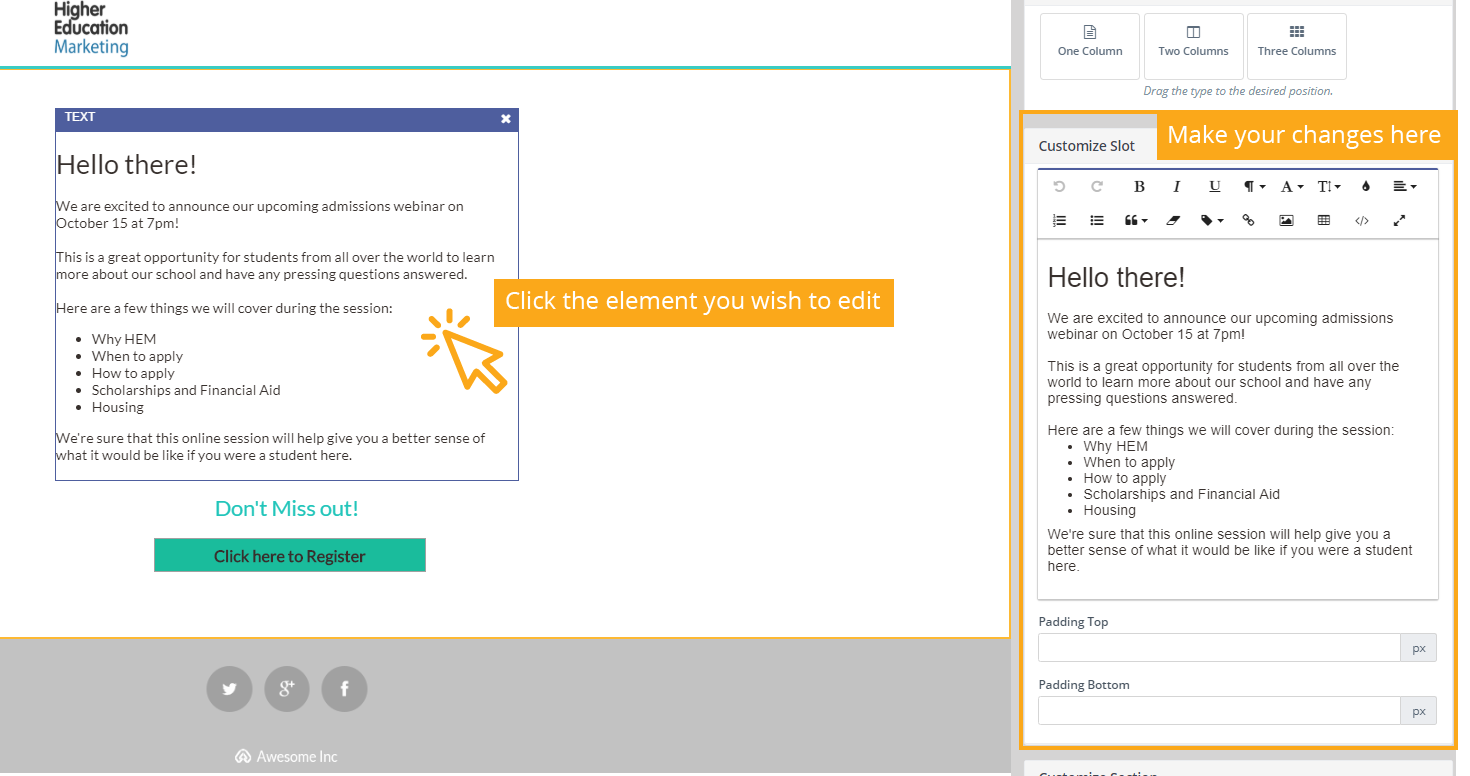
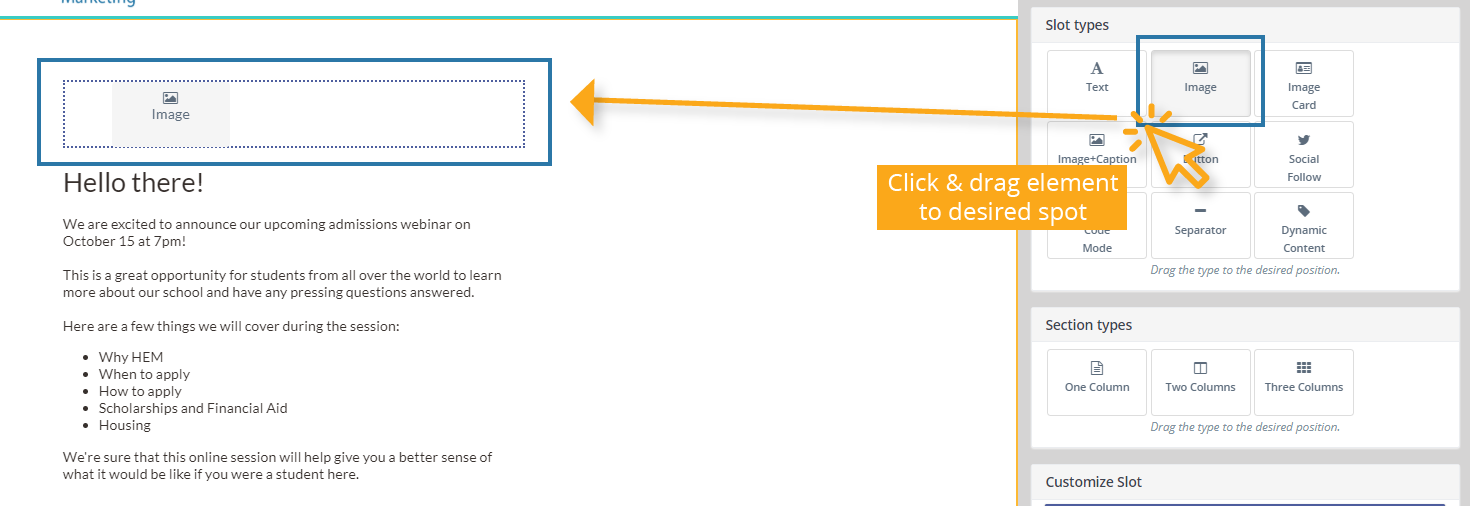
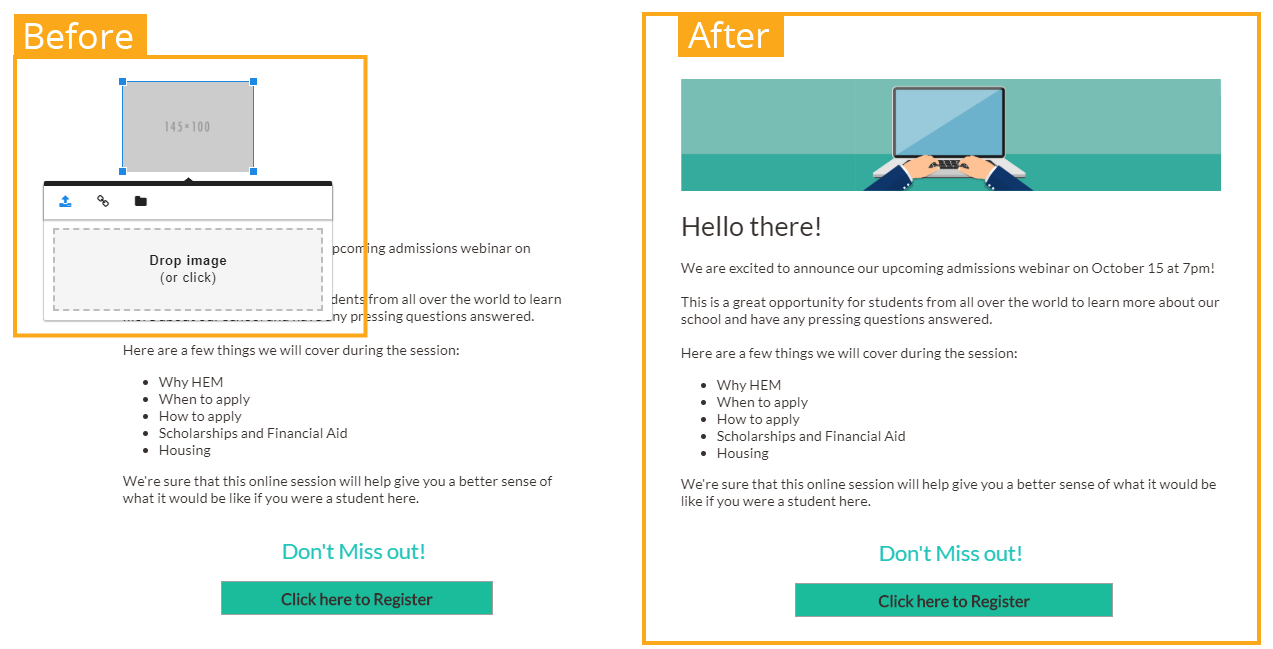
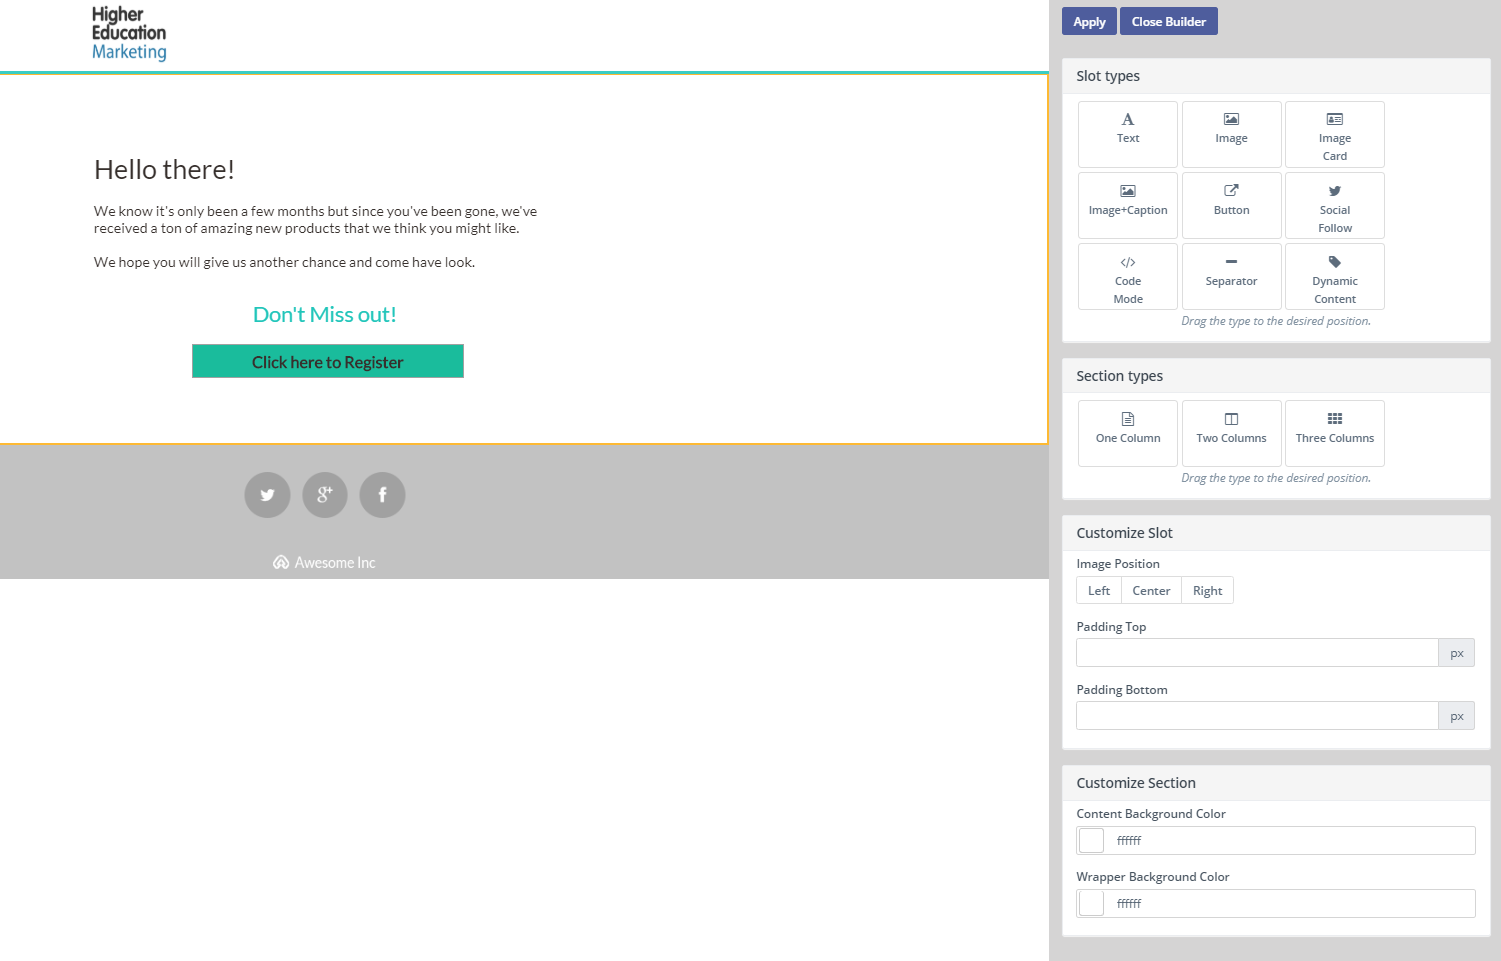
Once you’ve selected a template and added any necessary details, the next step in building an email in Mautic is to add the content itself. To do so, click ‘Builder’ in the top right-hand corner.   builder email body   To edit a pre-existing element, simply click on it. You can then make any necessary changes in the ‘Customize Slot’ section on the right-hand side. Your changes will automatically update in the preview version of your email.   edit email element   If you want to add a new element to your email, there are many different options available on the right-hand menu, which you can click and drag into your email. For example, if you want to add a header image, simply click ‘Image’ and drag it to the top part of your email. A blue box will indicate to you the field where your image will be:   email click and drag   The Slot Types available in Mautic are as follows: Text: Supports any kind of email copy you want to create, and offers a range of customizable options such as different fonts and colours, hyperlinking, bullets and numbering etc. Image: Most kinds of image files, which can be linked from a URL, uploaded from your computer, or chosen from your saved Mautic files.  Image Cards: Images with caption cards. Image Captions: Images with text captions underneath.  Buttons: Customizable and linkable Call to Action buttons. Social Follow: Follow buttons that link to your social media channels. Code Mode: Can be used to place customized code within your mail. This is ideal if you want to embed something not supported by the other slot options, such as a video. Separator: A dividing line to provide breaks between the text. Dynamic Content: Allows you to add variations of your content which will show to different users depending on whether or not they meet criteria you set based on Mautic contact fields. Each of these elements can be edited either in the ‘Customize Slot’ section in the right hand menu, or by clicking on the slot in the preview pane.   add image email   Continue editing the template and adding elements until you’ve created the perfect email for your campaign. 
Creating Padding Between Slots

All slot types allow you to control any borders or divisions between that slot and other elements of your mail, by selecting the number of pixels in the ‘Padding Top’ and ‘Padding Bottom’ section:   padding top padding bottom

Saving Your Work

If you want to save your work at any time in the builder, click ‘Apply’ in the top right-hand corner. To exit out of the Builder and back into the main email screen, click ‘Close Builder’.      Within the main email screen, you can also save your work at any time by clicking ‘Apply’: save close apply When you are happy with the mail and want to close it, click ‘Save & Close’.