Personalization is key when it comes to communicating with your prospects. Nowadays, it’s not enough to create well-written, well-designed content – it also must speak directly to your prospects’ needs in order to be effective.
Luckily, Mautic offers dynamic content features that allow you to personalize each element of your emails.
Adding Personalization Tokens
With HEM’s Mautic CRM, no longer will you have to begin your emails with an impersonal Hello.” Instead, you can address your prospects by name using personalization tokens.
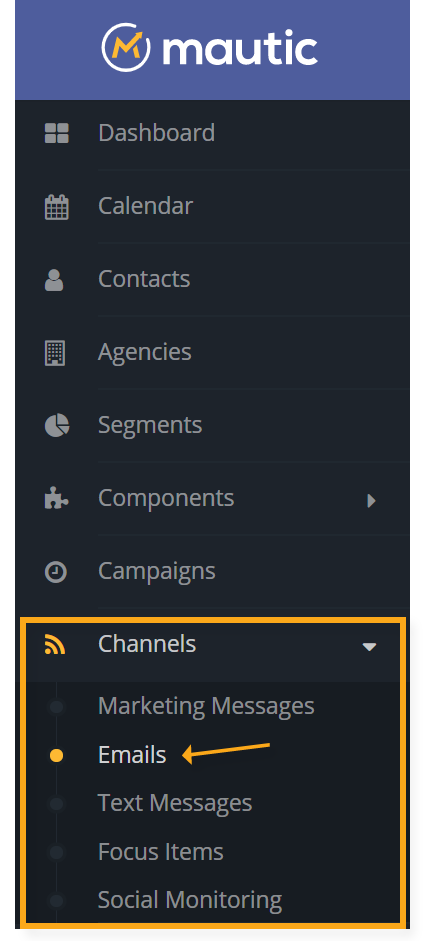
To start, first navigate to the email section of Mautic by selecting “Channels” and clicking “Email.”
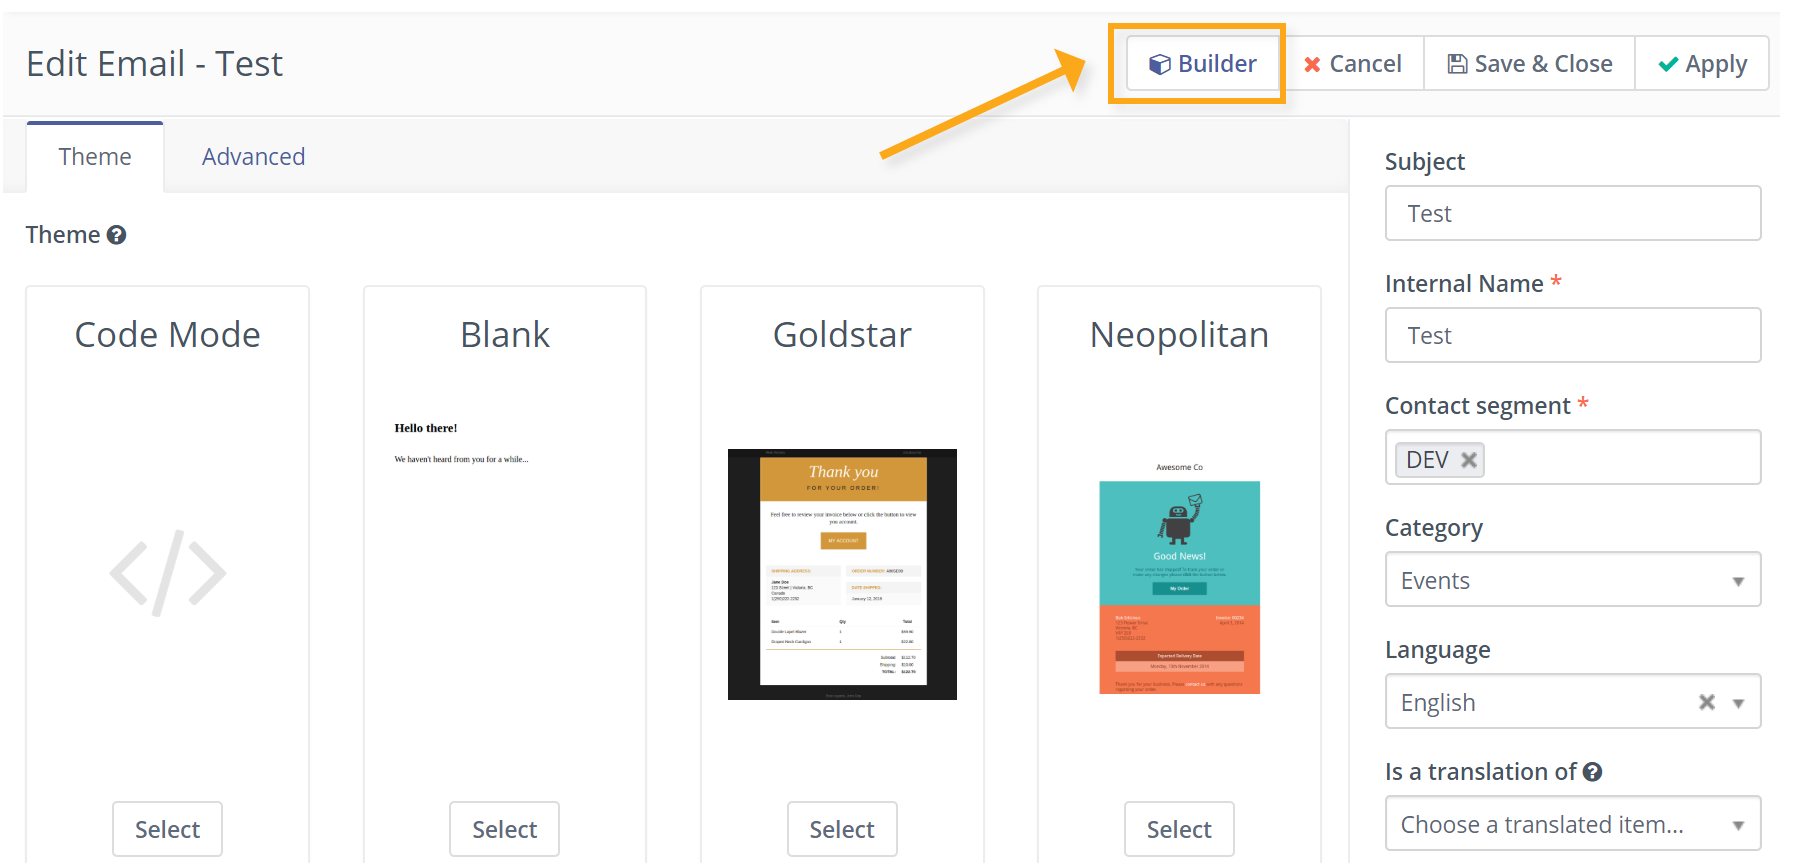
You can then either create a new email by clicking “New” or add a personalization token to a preexisting email by clicking on your message of choice and clicking “edit.”
Either way, you can then begin to customize your email by clicking “Builder.”

Next, using the left-hand preview email, click the section where you want to add the personalization token.
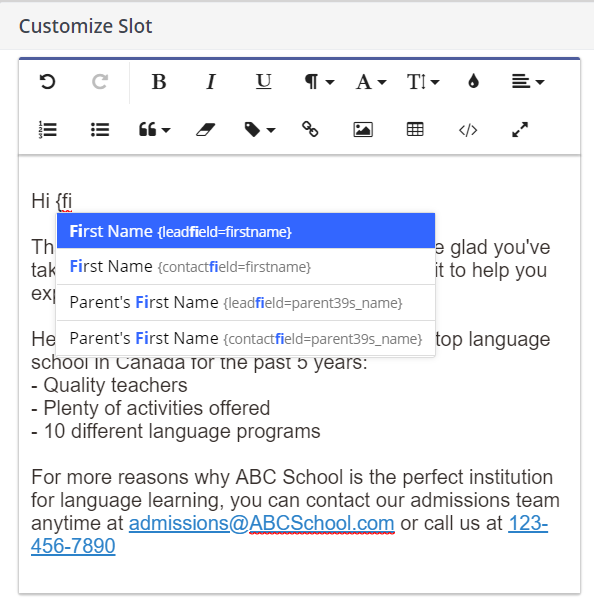
You can then edit the section in the “Customize Slot” field on the right hand side. Add your personalization token by typing the bracket ‘{‘ and the name of the parameter you want to use. In this case, we want to address contacts by their first name. Select the parameter once it appears in the drop down menu.
To add the token to your email, click “Apply.” Once your email is finished you can close the builder.

Creating Dynamic Email CTAs
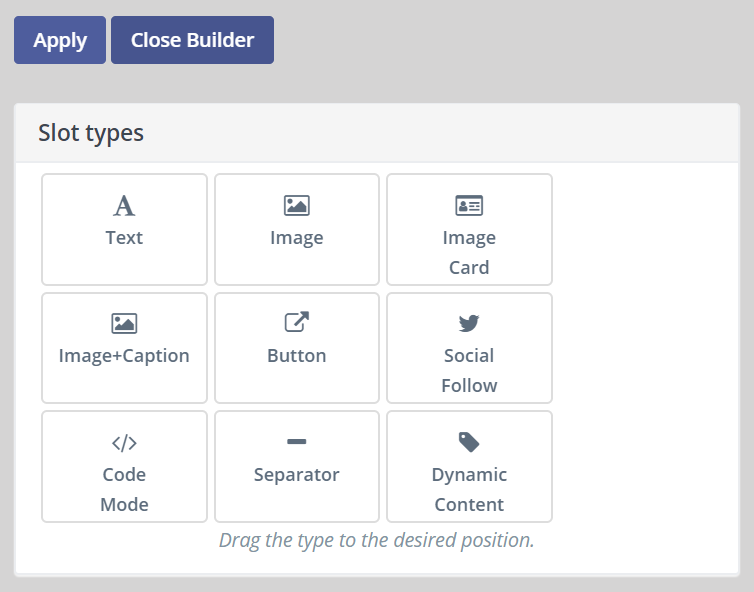
Once you’re in Mautic’s email builder, you can add start creating dynamic CTAs by clicking and dragging the dynamic content slot to the desired position in your message.
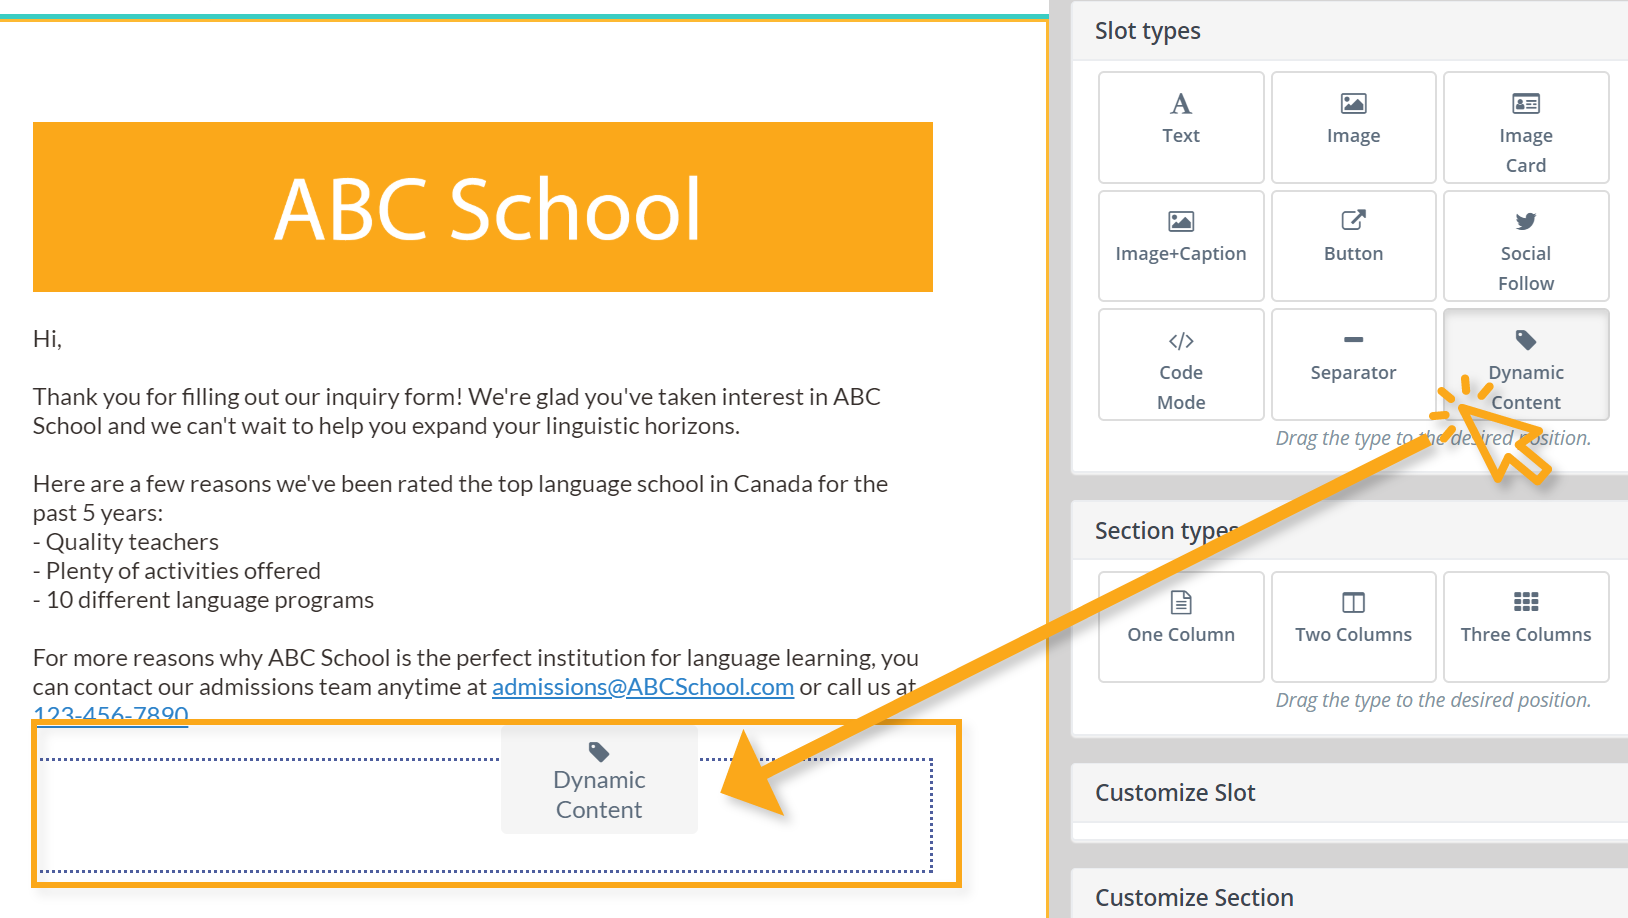
Then, click on the dynamic content section in the left-hand email preview, and begin editing it using the “Customize Slot” field on the right.

Create Your Default CTA
While it’s great to offer your prospects personalized CTAs, you’ll always need to create a default CTA that will appear if someone doesn’t fall into your dynamic CTA segments.
To upload your default CTA design, click the image icon or type “CTR+P
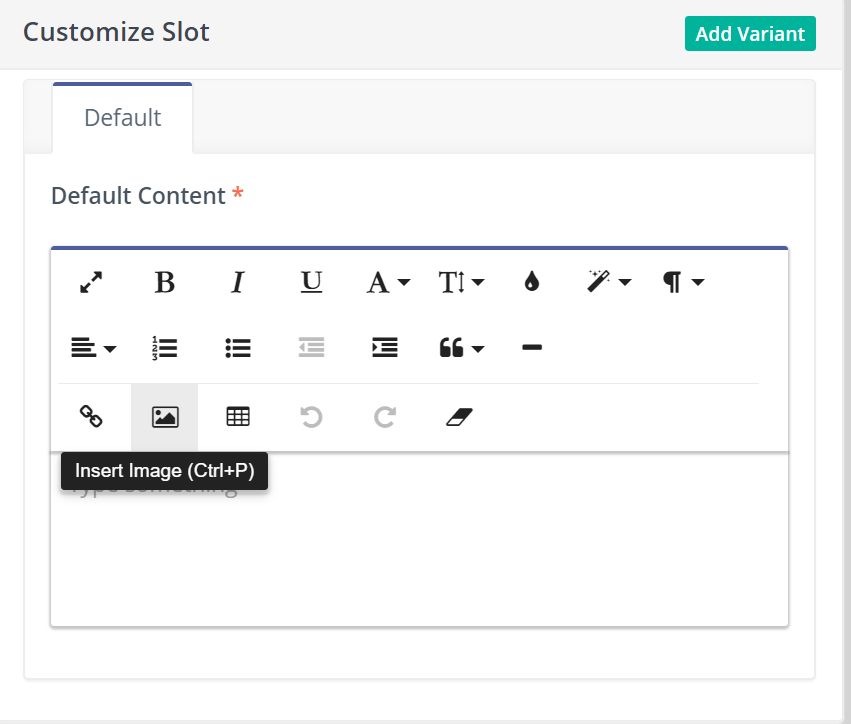
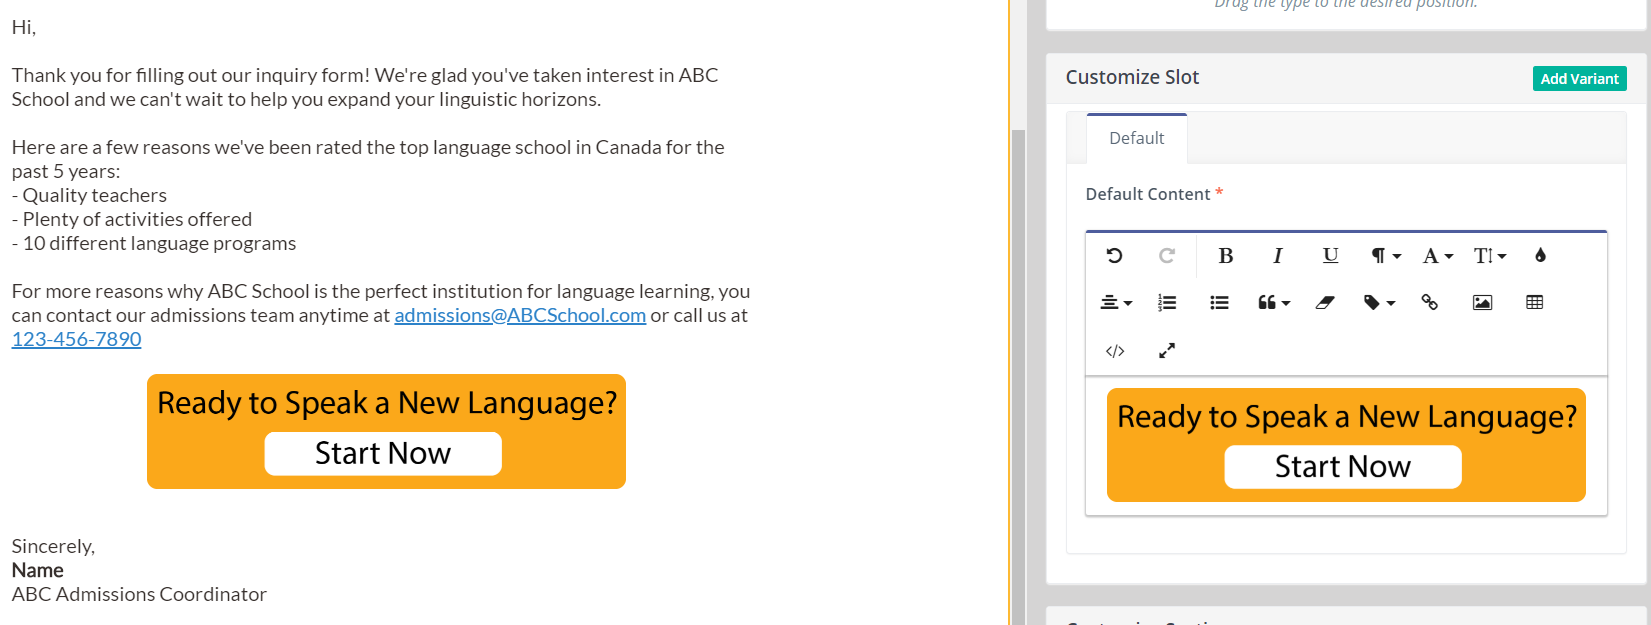
Once you add your image, it will appear in the email preview on the left. Feel free to make any adjustments to the sizing or the alignment.
Set CTA Variations
Next comes the exciting part: crafting your personalized CTAs.
To start, click “Add Variant” in the right-hand corner of the dynamic content slot.
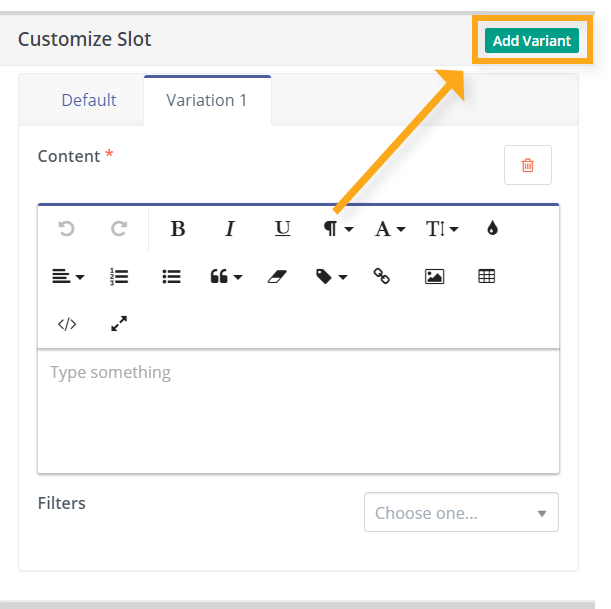
You can then insert the CTA image using the same steps as with your default CTA.
The difference, however, lies in the ability to choose who sees the CTA and who doesn’t. Select the parameter you want to use to segment your email recipients in the “Filters” menu.

Additional fields will then appear, enabling you to choose who, exactly, you want your CTA to reach, and who you don’t want it to reach. There are a number of different options you can filter by.
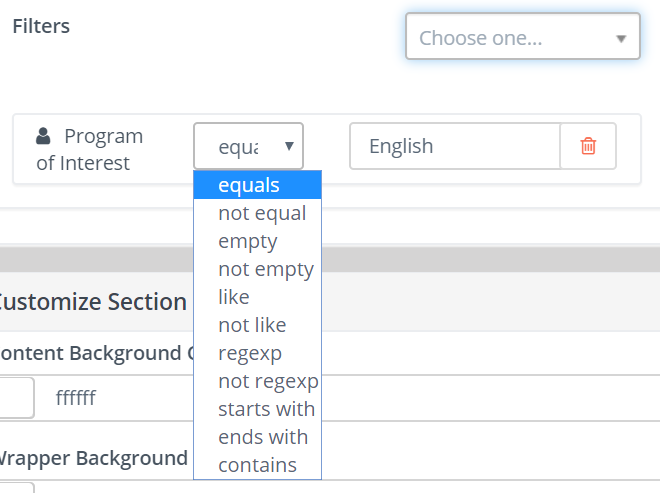
You can add additional filters to narrow in on the perfect segment by using the filters menu. If at any time you want to get rid of a filter, press the trash can.
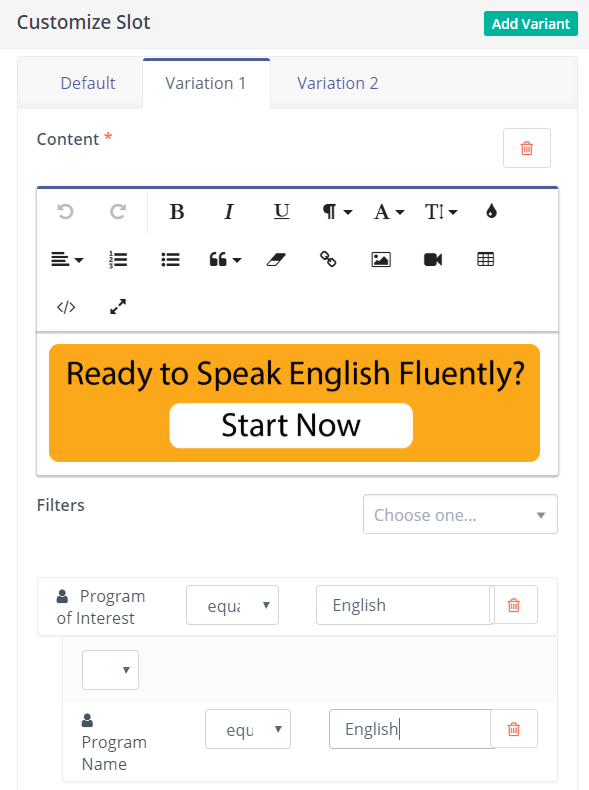
To add a link to the CTA, click on the image, and a dropdown menu of options will pop up.

Click on the link button, and then enter the destination URL when prompted.

Then, you can create additional variations as needed. In this case, we have four CTAs: a default one, as well as ones for students looking to learn English, French, and Spanish. Once your dynamic CTAs are complete, click “Apply.”
