To add a new program, first navigate to the top section of your application portal and select Programs.

Then, click Add New in the top right-hand corner.

Add Program Information
The first step in the process of filling in your program details is to enter the general information including:
- Title
- Campus
- Program Type
- Program Code
- Courses
Then click Next to select the program’s dates.

Click the dropdown menu to select the period.

If you wish to select specific start and end dates, you can do so by choosing Select Program Dates and clicking +Add Dates. You can add as many intake dates as you need.

Once your information is good to go, you click Save to proceed in creating your new program.

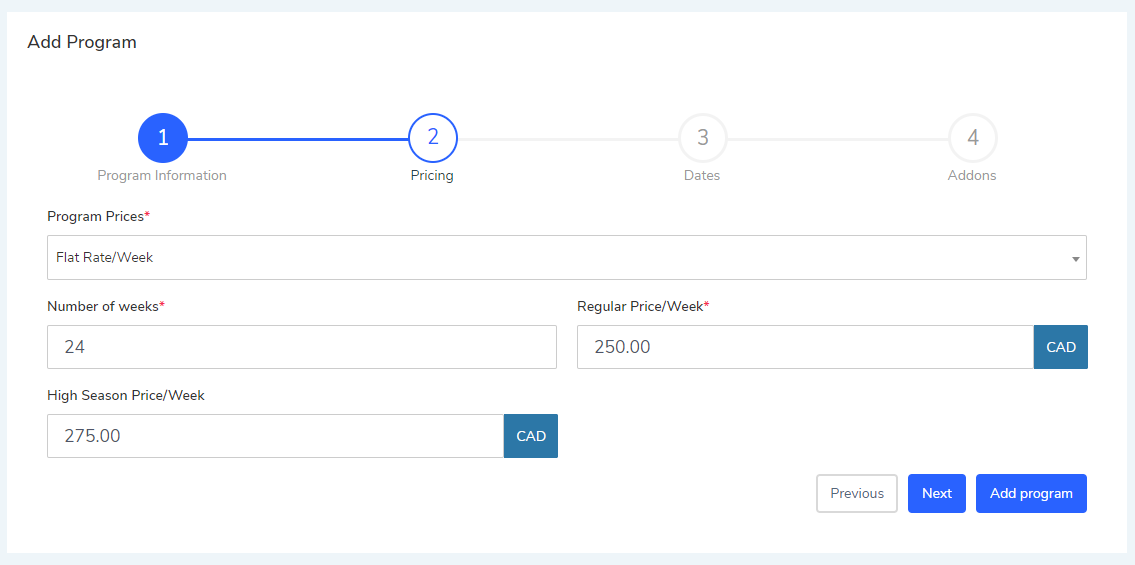
Add Pricing Information
Next, add your pricing information. Schools have the option of adjusting your pricing for high season.

Set Program Dates
The next step is to select your program dates.
If your program doesn’t have specific start dates, select ‘All Years’ and proceed.

If you wish to select specific start and end dates, you can do so by choosing Select Program Dates and clicking +Add Dates. You can add as many intake dates as you need.

Create Additional Addons
If your school wants to include any addons to its program, the last step is where you can do so.

After all your details are set, simply click ‘Add Program’ and it will be added to the Programs section of your application portal

